Quarto Presentations
Introduction
These slides will introduce creating RevealJS slides with Quarto Markdown. It’s highly recommended you follow along with the source code.
The YAML Header
As with R Markdown (.rmd) files, you’ll need to provide a YAML header at the top of your Quarto Markdown (.qmd) files.
To produce RevealJS slides, you’ll need to specify format: revealjs. Here is a minimal header for these slides:
Formatting: Just Like R Markdown
Familiarities: Headers
As in R Markdown, use # to denote headers.
What’s the difference?
- One
#denotes a section, for which a title slide will be created. - Two
#s denote a slide title, for which a regular slide will be created. - Three or more creates subheaders as usual.
Familiarities: Lists
Lists are created as with R Markdown.
Bullets
- Value 1
- Value 2
Numbered
- Value 1
- Value 2
Familiarities: Tables
Tables are created as with R Markdown.
| x | y | z |
|---|---|---|
| 0 | 0 | 0 |
| 1 | 1 | 0 |
Familiarities: Font Face
You can control the font face as with R Markdown.
- Bold.
- Italicized.
- Bold and italicized!
monospaced
Familiarities: Links and Images
Links and images can be included as with R Markdown.
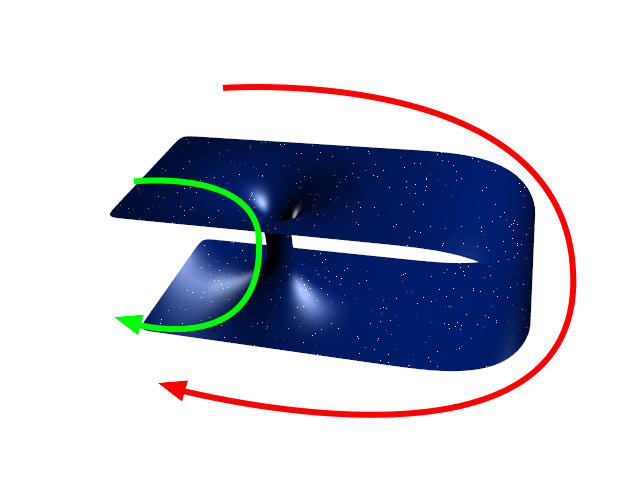
Have you heard of wormholes?

Here’s a 2D representation from Wikipedia.
Familiarities: Code Chunks
Code chunks are created as with R Markdown. As usual, the output can be included directly in the document.
[1] "Howdy, from Quarto!"Quarto provides an alternate way to specify code chunk options as comments in the form #| <option>: <value> at the top of the code chunk1.
Fragments
Fragments: Transitions
Fragments give Quarto Markdown an expressive power not found in R Markdown: transitions.
The simplest way to do this is by separating sections between 3 dots (with a space between each). See below:
Fragments: Syntax
For more advanced transitions, we introduce a new syntax:
- Surround your text with three colons (
:::) on each end. - As with code chunks, we will specify options in curly brackets
{ ... }. Start with.fragmentto create a fragment. - You can think of this as a format chunk by noting the similarity in syntax to code chunks, which instead of colons use backticks.
Fragments: Classes
You provide a fragment class in the curly brackets to specify a transition. Here are some examples, showing you can…
… highlight text.
… shrink and grow text.
… fade out text.
… fade in text.
See here for a list of all available classes.
Fragments: Classes
Here’s the code for the shown fragments.
- You need to add a dot (
.) before the class name. - Unlike code chunks, which separate options with commas, here we separate options with spaces.
Fragments: Multiple Classes
You can specify multiple classes to combine transitions.
Pay attention to this!
Fragments: Nesting
You can nest fragments1 to provide multiple transitions for one chunk of text. They will be executed in order (from the outer to inner fragments).
I’m feeling animated today!
Styling with CSS
You can make changes beyond the provided fragment classes. For example, if you’re familiar with CSS, you can control the style of the text directly:
Here’s some mutilated text! :)